The QAT
If you have read my previous tip on what a Quick Access Toolbar (QAT) is then you’ll know how useful it can be. Simply adding a tool to it is great, but you can move things about and modify it to suit your way of working.
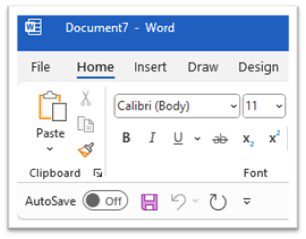
These days Microsoft applications come with a minimal selection.
Here you can see that I have chosen to show it below the ribbon. Where I believe it is the best place as I have the whole width of the screen to be able to add as many tools as I desire. Also, these days there is the ability to have only the icons showing or icons and descriptions, as I discussed in How to Make the Quick Access Toolbar Compact in Windows 11.
So what else can we do? Well, should you create a macro to perform a repetitive action, you can add this to your QAT, with a choice of icon to go with it. You can hide and reveal the QAT, should it hide itself.
The Ribbons
Each ribbon is set on a separate Tab, which has a family of tools.
For Word 
For Excel 
For PowerPoint 
What are sections
Let’s take Word as an example. The Draw Tab has the family of drawing items. These are usually in sections to help find the tool you require. In the Draw Tab there are 4 sections [Drawing Tools], [Convert], [Insert] and [Replay].
In Excel, the Formula Tab also has 4 sections [Function Library], [Define Names], [Formula Auditing] and [Calculation].
In PowerPoint, there are 8 sections in the Review Tab, [Proofing], [Accessibility], [Insights], [Language], [Activity], [Comments], [Compare] and [Ink].
You have the ability to change what you see in any of these ribbons, take away tools you never use or add some that are not usually shown. But I would always advocate being careful and not mess with the standard set-up but rather create your own, either a ribbon or a section within a ribbon. As you may remove tools that later you would benefit from but no longer find and therefore miss out big time.
Create your own Tab
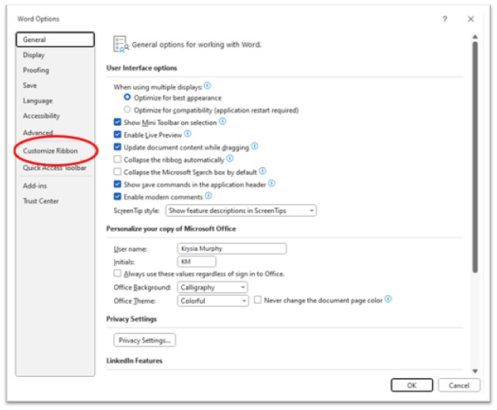
- Select the [File tab]
- Select [Options] at the bottom
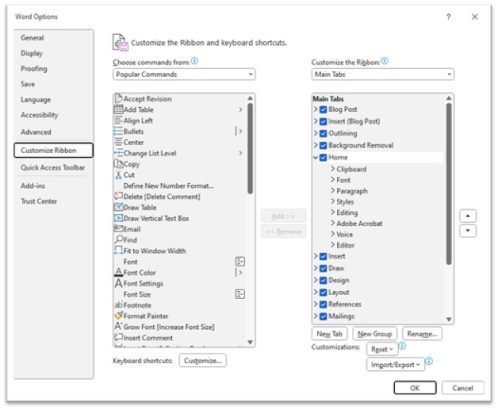
- From the left side select [Customize Ribbon]
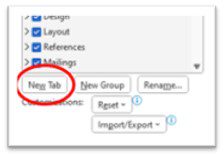
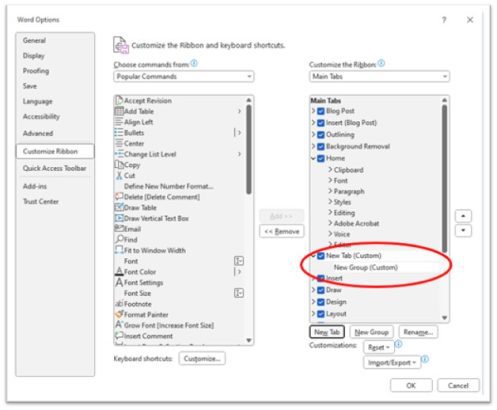
- Under the right-hand side list of tabs select the [New Tab] button
This will create the start point for your new ribbon.
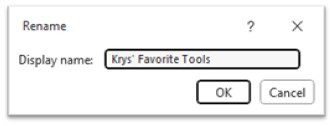
- Select the [Rename….] button
- Type in a title to this new tab. I have chosen to name it Krys’ Favourite Tools
- Look up at the tab line on your screen, and you will see the new tab there in alphabetical order.
This ribbon is now ready to accept any tool you desire to help you find and use them more easily.
How to add tools to your new ribbon
- Go back to File/ Options/Customise Ribbon and select [New Group (Custom)]
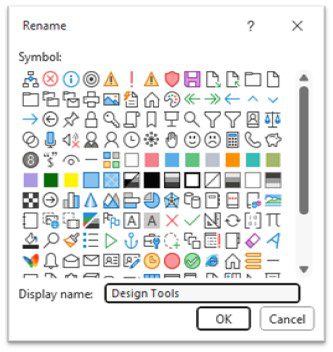
- Select Rename as before, and type in the name of the group section.
I have decided I need the design tools added to my personal ribbon.
- Select [OK] button
- Select the group you have just made
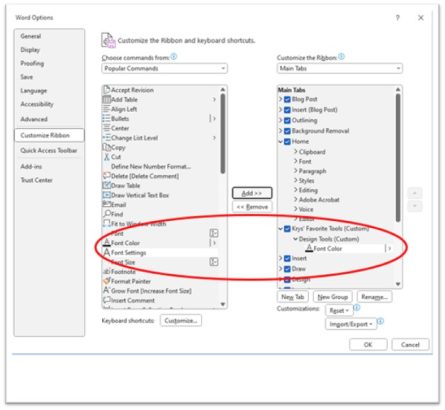
- Select a tool from the left column
- Select Add button in the middle
The tool has been added to that group.
- Continue in this same way until you have all the tools you require.
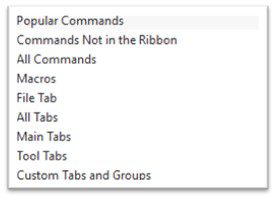
We have been selecting from the Popular Commands list, don’t forget there are other lists to choose from such as:
If you haven’t already then I suggest you read my tip on Quick Access Toolbar (QAT), where you will see how to add tools quickly to a group or ribbon.
Here is my example of my favourite tools

