What is a Macro? Well simply put, it is a single instruction that expands automatically into a set of instructions to perform a particular task.
I’m sure that all of you reading this have not just heard of Macros but use them too. But it is a good idea to know how to record a simple Macro. I’m not going into the realms of VBA (visual Basic for Applications) which is a programming language and usually takes about a 4 day course to teach. I’m just going to show you how to record a macro, that I feel is far more useful than the Merge and Centre tool already on the Home tab Ribbon. As you might well have found to your cost the Merge and Centre Tool can cause much trouble with pivot tables or filtering and the like. Therefore, using something that looks the same but works in a very different way and does not cause trouble is a great thing to know about and have at your fingertips. This feature is held deep in the formatting section of Excel and is a little cumbersome to find and execute, that is why I create a macro to use it quickly and efficiently.
So first we shall investigate where this feature is held. Learn the steps to get there and then create the macro. After which, (in my next tip) we will attach the macro to a tool to be placed on our Quick Access Toolbar.
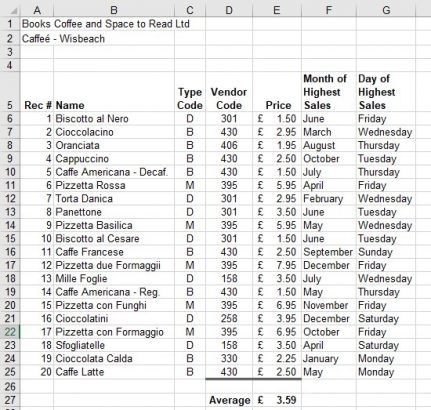
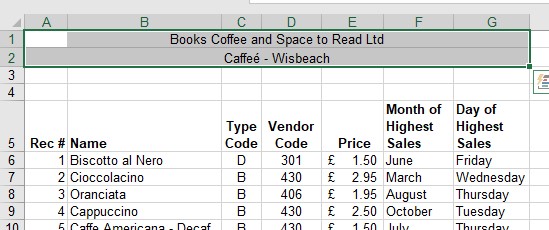
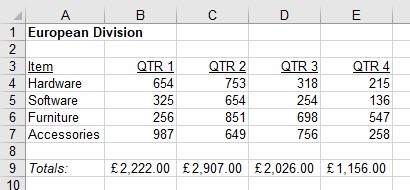
Here is an example of a heading to a section in your spreadsheet that you would like to be cantered across several columns.
Just enlarging the text and keeping it aligned left is ok but if it were centred is might be better.
- Select the cells A1:G2.
This is taking both headings together and selecting how far you wish them to centre across.
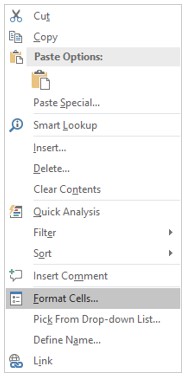
- Right mouse click in this selected area and select Format Cells… almost at the bottom of the list.
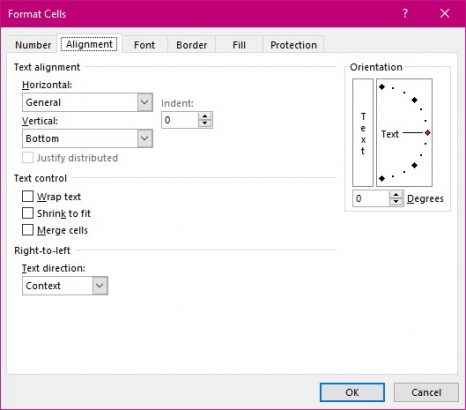
- Select the Alignment tab.
In the first section of Text alignment you find the Horizontal set to General.
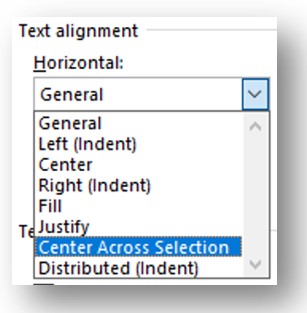
- Select the drop down arrow and select the Centre Across Selection almost at the end of the list.
- Select OK.
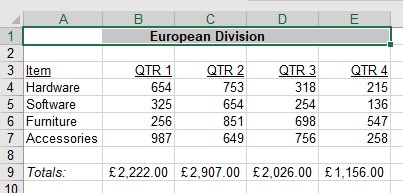
The result looks like this.
Unlike the Merge and Centre tool you still have each and every cell in this area present. The text that you typed into the cells A1 and A2 are still there but stretched as it were on an elastic band across the columns that you selected. Therefore not interfering with future requests such as filtering, sorting or pivoting.
When you start out recording a macro for the first few times I feel it a good idea to write down the steps you need to take to reach the concluding effect. You can get a little lost sometimes and the macro will still record your efforts. (Sometimes it is quite fun to have a macro that creates, then deletes and then creates something for you, but it’s not very business-like.)
Starting to Record a Macro
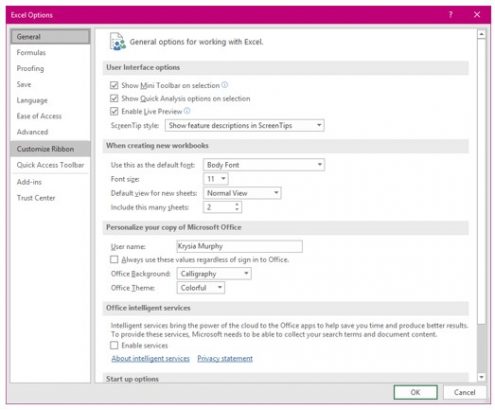
As a default the Developer tab is not shown in your list across the screen of tabs. You need to reveal it.
- Select the File tab.
- Select Options.
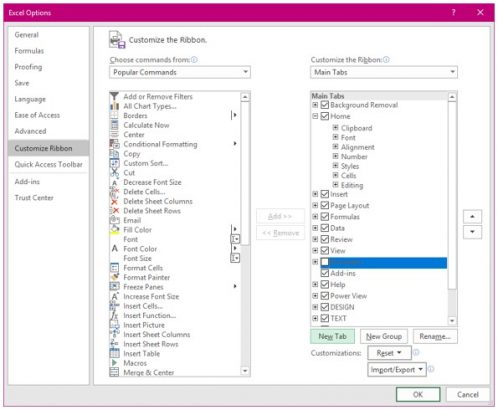
- Select Customize Ribbon.
The Developer option is found on the right hand side of this window with its box unmarked.
- Select the box.
The Tab is added to the rest at the top of your screen.
- Select the tab Developer.
We are going to use just 4 tools all found in this first section called “Code”.
- Firstly, you need to address the Macro Security by selecting the tool.
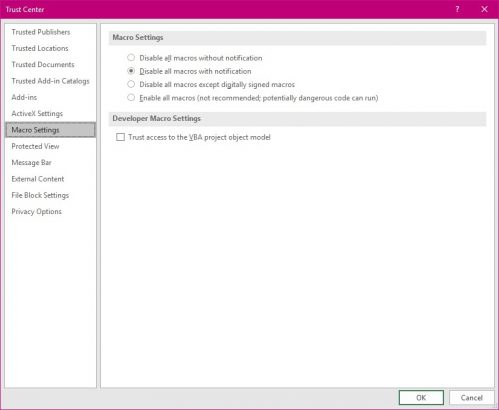
By default the setting is – Disable all macros with notification.
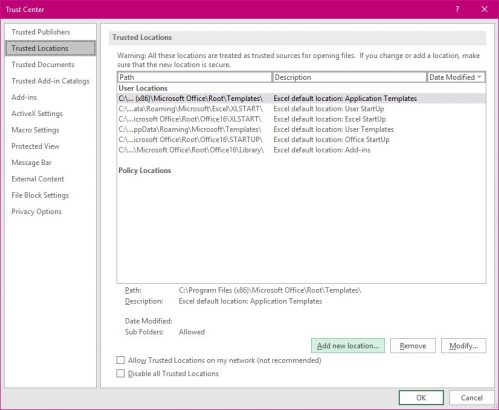
You can set your current folder as a trusted location.
- Select Trusted Locations on the left of this dialog box.
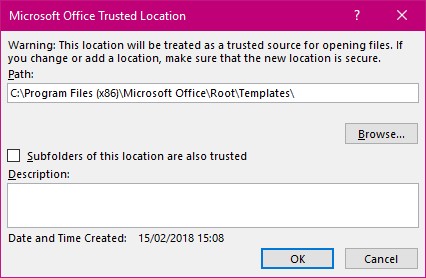
- Select the Add new Location button.
- Select the brows button.
- Navigate to the folder.
- Select OK. Then Ok again. This will have added the folder to the trusted locations list.
- Select OK button to close the Trust Centre dialog box.
- Secondly, you need to know if you require Absolute or Relative Referencing for your macro.
- If you require absolute referencing you need not do anything.
- If you require relative referencing; Select the tool.
WARNING enabling macros by default for all spreadsheets is dangerous due to the potential security risk of opening infected spreadsheets.
- Thirdly Select the Record Macro Tool to start the recording.
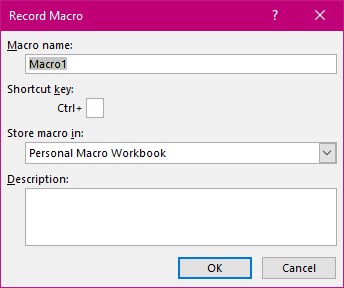
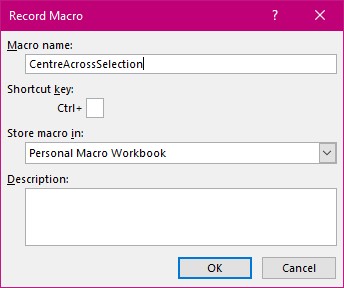
This will take you to a dialog box where you need to name the macro and save it in a particular place.
Macro names CANNOT have spaces between words. They also have to be unique names and preferably not ones already used by Excel.
You can select to assign a shortcut key to this new macro. But be warned that Excel does not let you know this key combination might already be used for something else. ( shortcut key lists in Excel 1 of 8) but we are going to assign this macro to a tool for our quick access toolbar so you don’t need to assign a key.
Storing is important to point out. You have the option to store your macro in the personal Macro Workbook or a New workbook or this workbook. If you select the personal Macro workbook this macro will be available to you for any document you use.
Writing a description is very useful for future reference not just for yourself but for your successor.
Once you have answered these questions and selected the OK button your macro has begun the recording of ALL the commands you now perform. In the order you perform them.
Follow your list that you made earlier and when you have finished, select the Stop Recording button in the ribbon.
Your Macro is complete.
To test a new macro
Find a new piece of text to try you macro out on.
- If you used Relative referencing then you need to select cells A1:E1
- Select the developer tab.
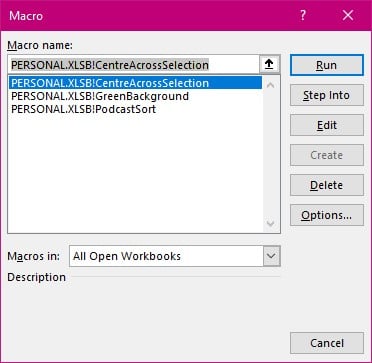
- Select the Macros tool.
- From a list there found select your recently named macro.
- Select the Run Button at the top right of this dialog box.
The result should be this.
There you have a splendid macro that will save you some time and frustration as well as having learnt how to do this you can create a whole host of macros.


