 In a previous tip I wrote about creating folders to organise your incoming emails in Outlook. Dragging and dropping emails can be fun but if you get a lot of emails in a day and do not have much time, this could be left to another time and then you find there is just too much to cope with and you give up. Even if you are not in this situation you can create a rule so that email from a certain person gets moved into a particular folder as soon as it arrives. The trick here is to teach yourself to read the left side of your screen and note which folder has new unread emails sitting there waiting to be dealt with before diving into any one email.
You can create a rule before you receive an email. Or create one when you have an email to move. The second could be the simpler way, and this is what I shall start with.
- Open the email.
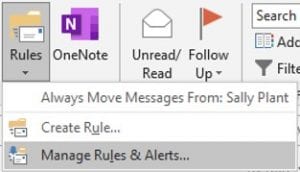
- Locate the Rules tool in the Move section of the Home Tab Ribbon.
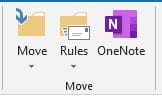
- Select Rules.
A list appears.
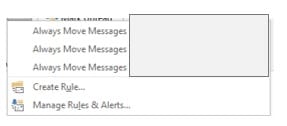
- Select Create Rule…
A dialog box appears.
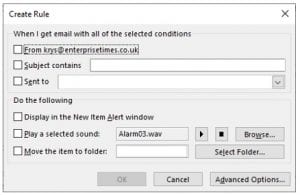
- Select the first box to indicate who emails are coming from.
- Select the last box. Move the item to folder.
- Select the folder for this email to be moved to, by using the Select Folder Button.
This dialog box appears.
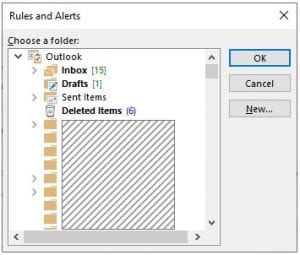
- Locate and select the correct folder.
- Select OK button.
You would be right in thinking that all you need do next is select the OK button in the following screen. But I would strongly suggest you select the Advanced Options… button instead.
The reason is that you can tweak the rule to your particular needs and most importantly take off a feature that is set by default. I shall explain.
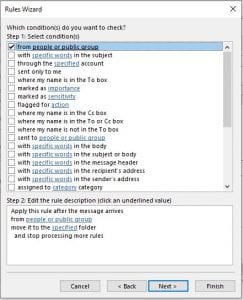
When you select the Advanced Options button this is the dialog box that appears next. This holds conditions that you may like to assign. Once selected or not select Next Button.
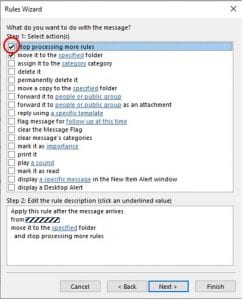
The next dialog box appears where actions can be set.
The default setting to Stop processing more rules is here. I suggest that this is unchecked. So that when this rule runs it does not stop the next rule from being run.
- Select the Next Button to see the next dialog box where any exceptions to this rule can be set.
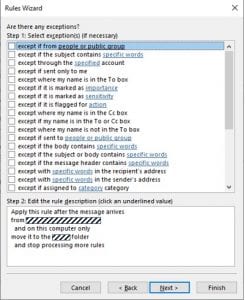
- Select the appropriate choices and add the appropriate settings.
- Select the Next button one more time and the following dialog box shows you your rule and this is where you can run that rule straight away. Checking first that all the settings you require are there.

- Select the Finish button for the rule to be set and run.
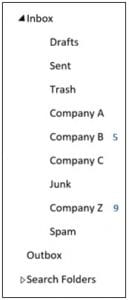
Now every time you receive an email from that person it will appear in the folder you have chosen for you. Therefore, now you need to look at your folders for notification of new emails from those people.
How to create a rule before you receive an email
- From your inbox select the Rules Tool in the Home tab.
- Select manage rules.
This appears.
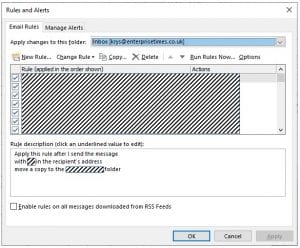
- Select New Rule…
This appears.
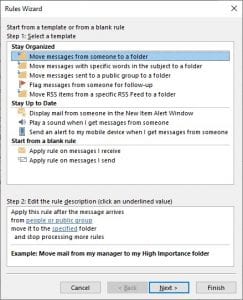
The first selection is possibly what you want. This will allow you to choose the email address of the person you will receive an email from and lets you choose where to move that email to.
- Select in the second step of this dialog box people or public group.
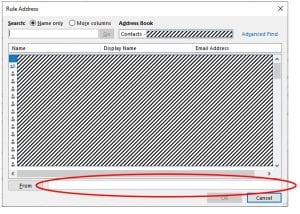
- Here you would either select from your contact’s list or type the email address in the from bar at the bottom.
- Click Ok.
- Select the Specified folder text to be able to select the folder where you wish this email to be moved to.
As in the steps above you are presented with your hierarchy of folders.
- Select the one you require.
- Select the Next Button.
You will notice that this is where we have been before at the start of creating a rule from a received email. Continue in the same way as above.
This is just one way you can help make you emails organised.
Look out for the next tip in this series of how to create a rule that moves emails from any person from a particular company address.


