
This is a subject I am asked about a great deal. “How do I use Mail Merge in MSWord?”
I am going to show you what I believe to be the easiest way to learn and then you can use other ways once you know what you’re doing or stick to this one. So why do you want to use Mail Merge when you can email one message to a number of people of your choice? Most commonly it is because you still want to use the conventional piece of paper to be posted to the recipient. A recipient list may be short or long it really makes no difference to the Mail Merge process.
First off you need to understand that what you are in effect doing is joining two files to work together and giving the right code in the right place so that the information that changes from recipient to recipient is input for you making your life easy. You can start with two files one as a text file that has some if not most of the written information you require the recipient to receive and the second is a list of items you will require to be inserted into different places on the other file when Mail Merge is happening. Typically, the letter is created in MS Word and the list in MS Excel. Both these can be created whenever you like and held on file for use with other mail merges. The list could also be in a database.
We shall start by creating a scenario that we are going to invite students for interviews for varying internship positions on various dates at different venues. I shall begin by creating the list in Excel. This list MUST have headings to each column that are unique and be in the first row. Having first names and surnames separated is always a help as you might at some point wish to use them in separate places not following on from one another. 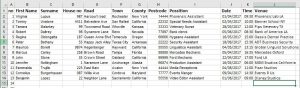
Now let’s write the letter that all these people will receive but without the vital information. 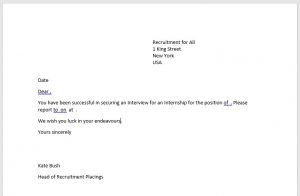
Please note that there are lots of holes in the text and no address of the student.
Save this letter as a master that you could use several times over in the coming weeks.
Now we start the Mail merge.
Begin with opening the Master letter. You do not need to open the list.
From the Mailings tab 
Select Start Mail Merge 
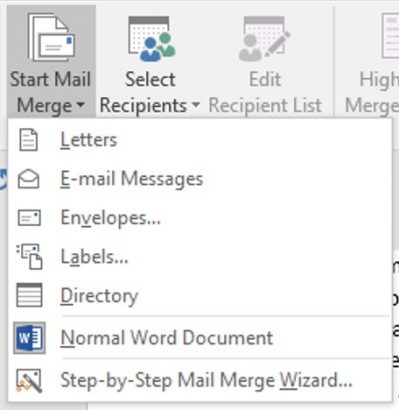
From this list select Step – by – Step Mail Merge Wizard… this I believe is the easiest way to learn Mail merge without missing a step.
You are now presented with a window on the right of your screen that you need to follow. 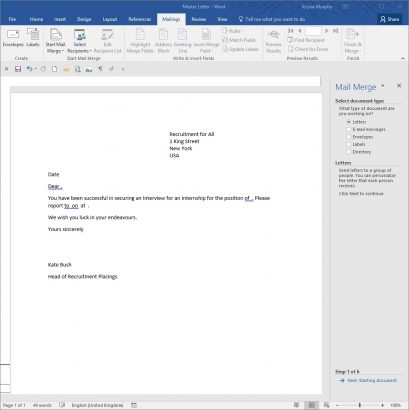
You will be working on this side for a while and moving down and up throughout the steps.
Step 1 is to decide what type of mail merge this is. In our case it is ‘Letters’.
Select Next: Starting Document, which is found at the bottom of this window in blue.
Step 2 Here you are asked which document you wish to use as the basis of this mail merge. Since we have already created, saved and opened the Master Letter Document leave the default selection on “use current document”. 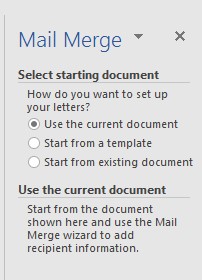
Select Next: Select Recipients at the bottom. Notice that you do have a previous button so at any time throughout this process you can go back a step or even two top correct yourself.
Step 3 The recipients are in the file you created in Excel of names and addresses etc. therefore you can again leave the default selection on “Use an existing list”. 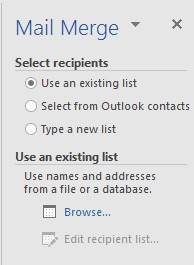
Select the Browse… button found here to locate your previously created list in Excel. 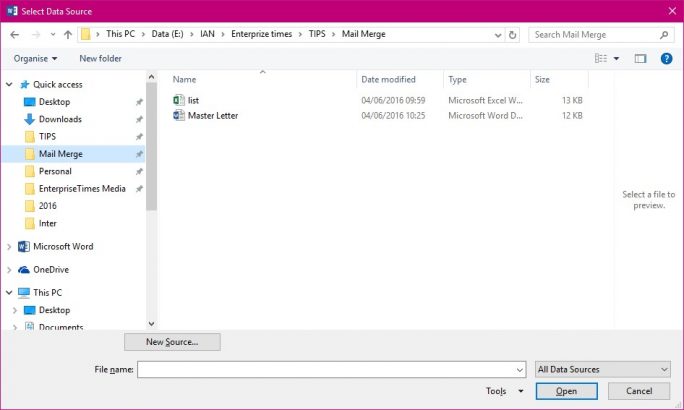
Select the file. 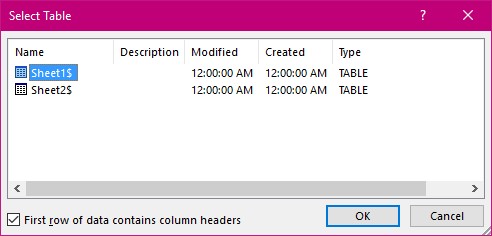
Select ok if the sheet 1 is where your data is. 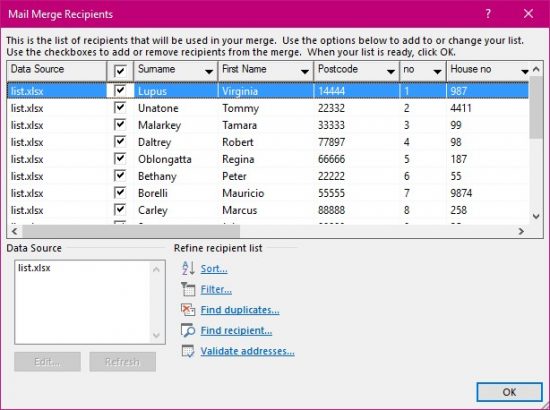
In this window you can select or deselect the people you wish to write to. For simplicity we are going to use the whole list as it is.
Select OK
Select Next: Write your letter.
Step 4 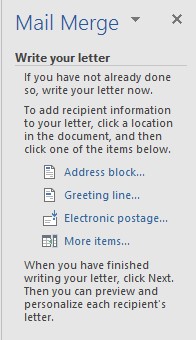
Place your cursor where you would like the address block to appear and select the Address block… 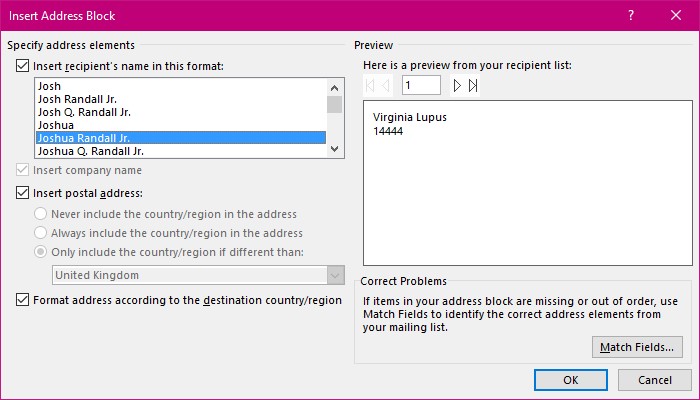
If you do not see the full address block as we do not here it is because Word is looking for the default headings known to it. Such as these. 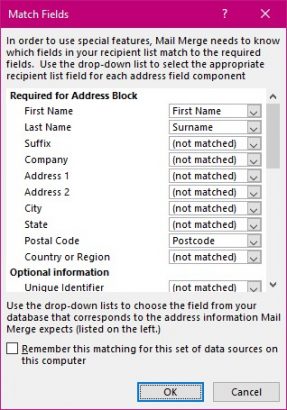
Therefore, if you want to use this feature you need to make your headings accordingly.
If not then select More Items from the list instead, this does make for a little more work but then you’ll be selecting from your own headings. 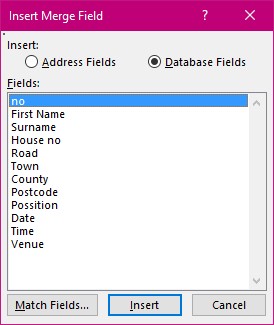
Here you can select first name then you need to select ![]() button and then the
button and then the ![]() button. Type in the space and reselect More Items… returning to the list of items you have in your list file. Select Surname and insert then close and type in the return to be in the next line. You can see that this makes for a long winded address block. So the choice is yours. Use your own heading names of Word’s.
button. Type in the space and reselect More Items… returning to the list of items you have in your list file. Select Surname and insert then close and type in the return to be in the next line. You can see that this makes for a long winded address block. So the choice is yours. Use your own heading names of Word’s.
Here is the result. 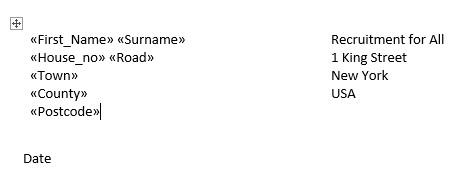
You have successfully placed the code for Word to find the information for each recipient in the correct place.
Replace the word “Date” to be the correct one for posting.
Move to the place in your text where the next item is to be inserted. I.e. “First Name” select More Items from the list and continue this until you have competed the letter.
Save your work.
Your letter will now look similar to this. 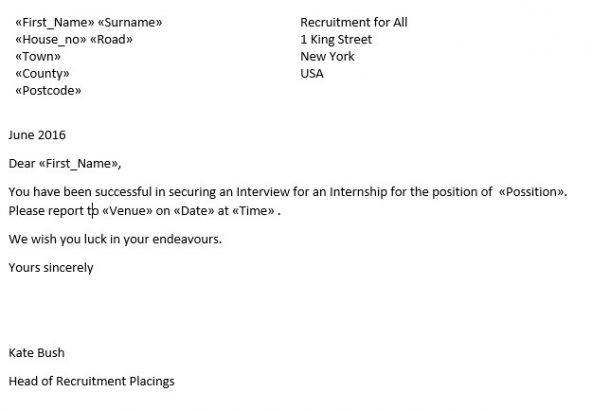
Select Next: Preview your letters.
This is step 5 where you have the chance to tidy up any mistakes and make sure that the correct information is indeed in the correct place. 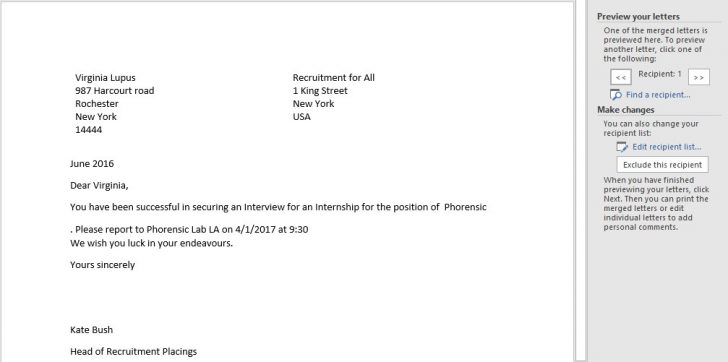
You can review each and every recipient by selecting the ![]() arrows.
arrows.
Once you are happy select Next: Complete the Merge.
Step 6 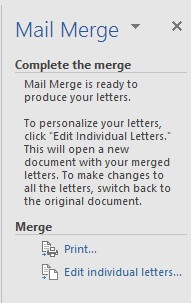
Select Print… 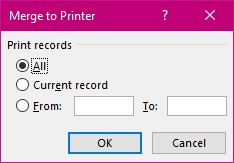
Select All. Select OK then set your printer settings to the required settings and your mail merge will now print out all the records with the correct information in the appropriate places in your letter while you have the chance to make yourself a cup of tea!


