 Many of my students take a sharp intake of breath when I say that we are going to learn about Track Changes. This subject seems to fill them with horror. The reason may well be that the feature is used by so many but not used correctly so mistakes can happen and problems occur. I hope to dissolve this fear with a few simple steps to follow on how to use the Track Changes feature correctly.
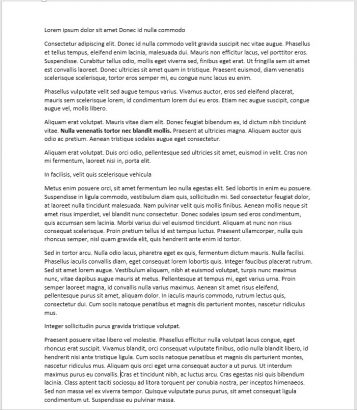
Here is an example document. 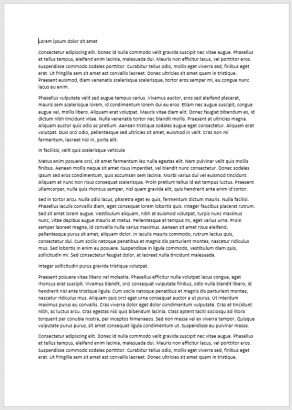
Usually you create a document and want someone else’s input on that document so you need to set Track Changes before you save and send the document to them.
How to set Track Changes.
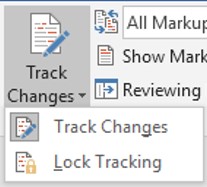
From the Review Tab.  Select the Track Changes Tool.
  Here you have two choices.
Track Changes, this will mark every change that you or the person you send this document to will make.
Lock tracking will not allow the person you have sent this document to with track changes on to take the tracking off without your password. Please do not forget this password.
Here is the example document with some changes to it. 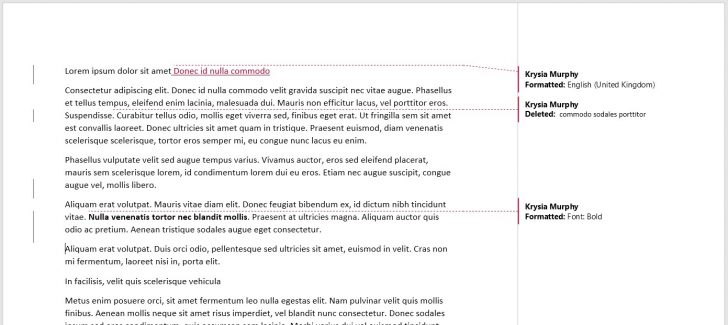
You can see that the document looks to have been extended to the right. This is the area where each change is shown. It lists who made the change and what it is. It can also useful to sometimes add a comment against changes to explain why they were made.
The first change I made was to add some text to the title but track changes refers to it as formatting. Another change I made was to break a paragraph a couple of times but this just shows as a vertical line on the left of the text with no further explanation.
Another way to view the changes is like this. 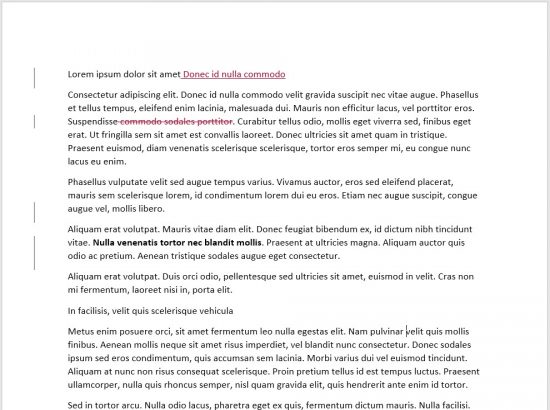 Here the changes are shown in-line.
How to set Mark-up
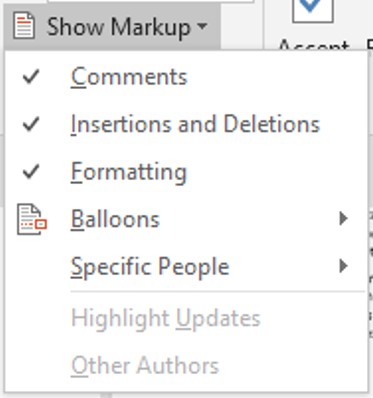
- From the Review tab select the Show Mark-up Tool.
![]()
- Selecting this tool with result in a list to choose from.

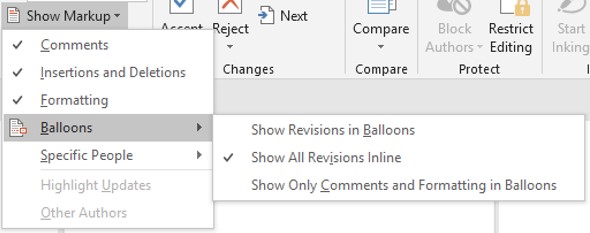
- Select Balloons from the list.

- Select the Show All Revisions Inline.
Here is the Example file with another person’s edits. 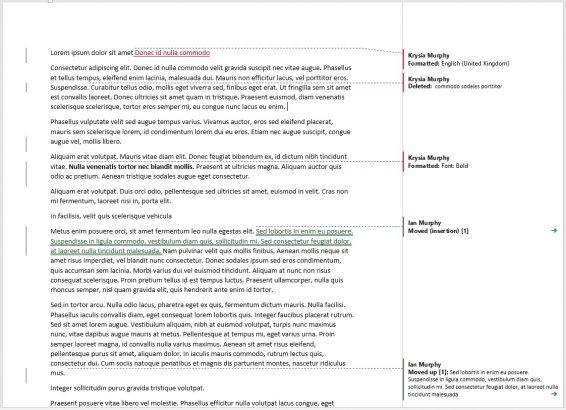
You can see that they are in a different colour so that it makes it easier to see who has changed what.
Now you have all the edits from one or more people, you can review the document and reject or accept the changes.
- But to finish this part off you need to turn the Track Changes off.
From the Review Tab.
- Select the Track Changes Tool.
- Select Track changes and the item is no longer highlighted.

- This is a binary (turn off/turn on) tool.
How to Accept or reject changes in a track Changes Word Document
Start at the very beginning of the document.
- From the Review Tab in the Changes section select the Next Tool.

- This tool will take you to the first change proposed.
To accept the change, select the Accept tool. ![]()
To reject the change, select the Reject tool. ![]()
This will in turn take you to the next proposed change where you will again make a decision. Continue like this to the end of your document when you will be presented with this dialog box. 
When you have finished Save your document and it is now ready to be used in what ever way you need.
Here is the example document finished. Please note that any formatting changes such as bold or italic will not change back to regular. So please do not use this kind of indication of change or insertion of new text. Mixing and matching does not help you.