 Ian Murphy July 2014")
Many times I have been asked what the quickest way to create a simple presentation in PowerPoint is. People sometimes do not have the time to create complicated slide designs and all they need is a few bullet lists to keep the audience on the same road as the speaker. Complicated illustrations, photographs and graphs are great if you have the time to explain in your presentation and if you have the time to create them. Some people still start their presentation staring at the blank PowerPoint screen not knowing quite what to do next and then get swamped with all the beautiful features that are in PowerPoint and find that the presentation was due about an hour ago and they’ve missed their slot!
If all you need are a few bullet list slides then this is the tip for you. Start with a good idea of what you want to say. Keep it all very simple. The slides you present are there to back up your words not the other way around.
Where to start
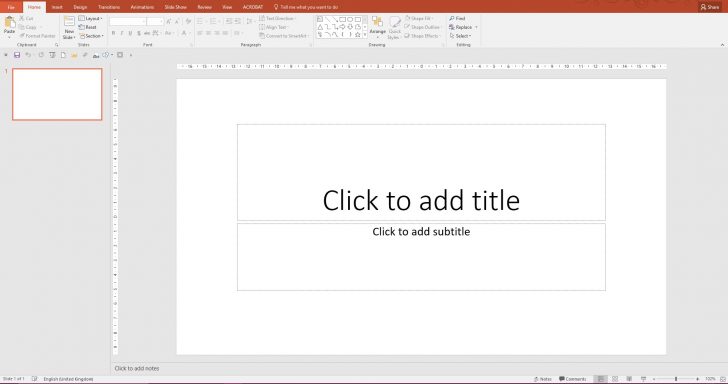
When you open PowerPoint, you are presented with this view.
-
-
- Select the View Tab.
-

-
-
- Select the second tool Outline View.
-
OR
-
-
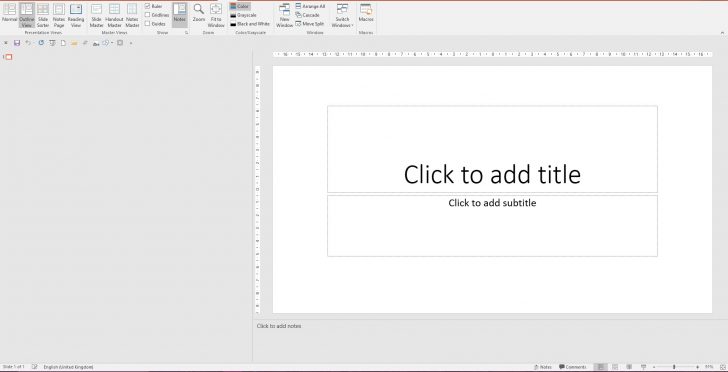
- Select the view tool at the bottom right on the status bar that says Normal when you hover above it.
-

This toggles between the Normal View to the Outline View.
Once in this view DO NOT click where it says to click to add title. Don’t click anywhere, just start typing the title you require.
To move into the second part of this slide which is the subtitle hold down your CTRL Key and press the Enter Key. Type in what you require there and to create a new slide once again Hold down the CTRL key and press the Enter Key. The default layout of a title and content areas appears.
This is the quickest way to create slides and text for titles and bullet lists as all you do is type. Just keep going. The CTRL and Enter keys allow you to jump from title to bullet list then to new slide title. Don’t worry if you have missed anything or mistyped anything these can be adjusted a little later.
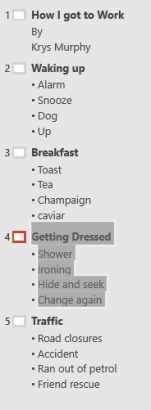
Outline View allows you to see all the text for each slide.
Here is an example of a silly presentation. Topic is “How I got to work”.
Step one

Step two
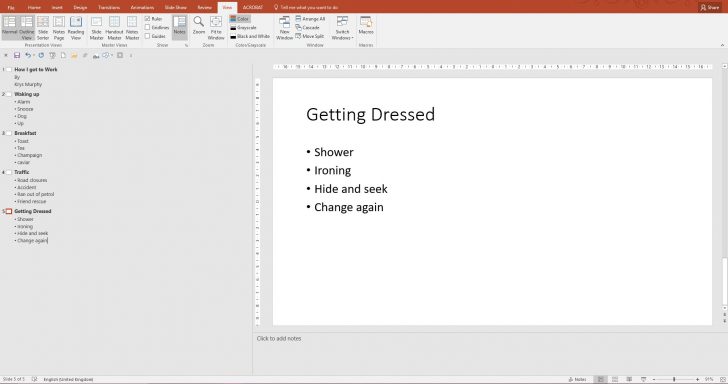
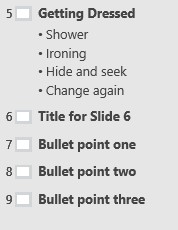
Here I have created several slides and as you can see they are not fully self-explanatory and they are not in the correct order.
How to move a whole slide
Select the box representing the slide on the left most of your screen next to the title of the slide you need to move.
This selects the whole slide.
With the mouse pointer still in the shape of an outlined four way arrow click hold and drag the slide to the correct position. You will see and horizontal line between the last bullet of one slide and the title of the next. If that is the correct place then let go of the mouse.
The same action of selecting then dragging to a new location can be done anywhere else in your presentation.
Correct accidental new slide creations.
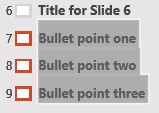
If you have by accident created a whole lot of slides with just titles that were supposed to have been bullets, because you forgot the CTRL Key when you pressed the Enter Key. Do not worry, a simple rescue is found here.
-
-
- Select all the slides in question.
-
-
-
- Press the TAB Key on your keyboard ONCE
-
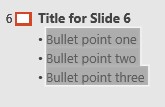
All the titles in separate slides are now part of the previous slide and show as bullet points.
N.B. do not press the tab key too many times as then the text will go down the 9 levels of bullets that PowerPoint allow you to have.

By default the text will be rather small and in the wrong place horizontally. This is corrected this by holding the SHIFT Key and pressing Tab until you reach the first level again.
So now you have a wonderful set of slides to accompany your great presentation. You have created it in less the five minutes, giving you plenty of time to be creative if you wish or just get on with other pressing work.


