")
This week saw the NHS email system grind to a halt. It was caused by someone creating a distribution list that included everyone in the NHS. This is the sort of thing organisations do on a regular basis. Done properly it works well but get it wrong and the chaos that ensues bring disaster.
So what went wrong? The person sending the email made the mistake of putting the distribution list in the To or CC field (which one has not been disclosed) rather than the BCC field. By doing so they created a situation where anyone hitting Reply All sent their response to the entire distribution list. It was this explosion of email that took the NHS email system down.
There is a second issue that has been overlooked here and that is security. Email addresses are seen as Personally Identifiable Information (PII). While all the addresses were available in an email directory making them available to anyone using the system it is now easy for those addresses to be leaked outside the system. This is a closed system and hackers will be looking to get those email addresses. They can use them to create spear phishing attacks that look like they are authorised emails. We can expect a spate of malware attacks, especially ransomware, to follow as a result of this.
There are ways to prevent this. While the above problem was with NHS Mail 2, a different piece of software to MS Outlook, the principles are the same. This tip will look at how best to create and use distribution lists.
First off, I wish to explain that I am talking about using Microsoft Outlook 2016. This package has the ability to create distribution lists, which are now called ‘Contact Groups’. These lists save users time searching for the same email addresses on a regular basis. there is always a possibility of either missing someone out, selecting a similar name that is the wrong person entirely or not selecting someone because they have too long a list and forgot them.
This is how to create a Contacts Group
Logon to your system and open Outlook.
On the Home tab locate and select the address book. 
![]()
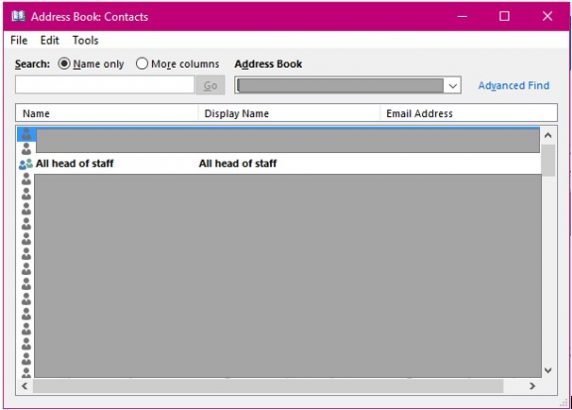
This opens a dialog box that I have selected to remove all addresses for security purposes. 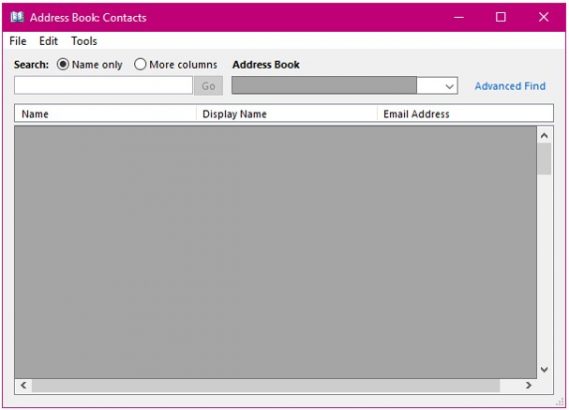
Select File from the menu bar. Then New Entry from the list.
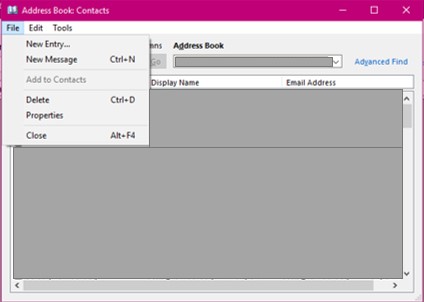
Select New Contact Group
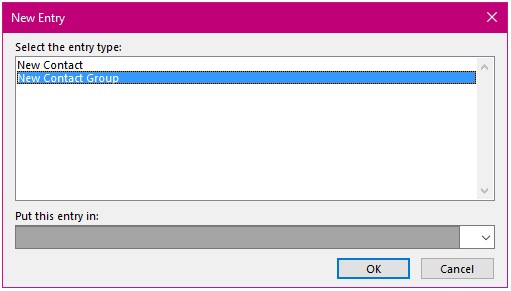
The first thing you need to do is give this group a good name. one that you will remember in the future should you not use it regularly.
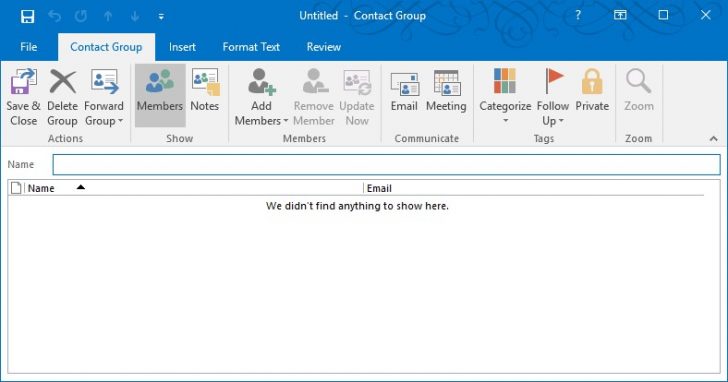
Select all the members of this group from your address book using the Add Members tool.
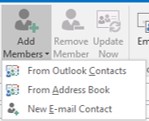
Here you can choose from your contact list, the main address book for your company or you can also add a new email address not found in either.
Once you have all the people you need for this group. Check carefully that you have selected the right people, as it is so easy to choose similar names but from different departments especially if you don’t know the person.
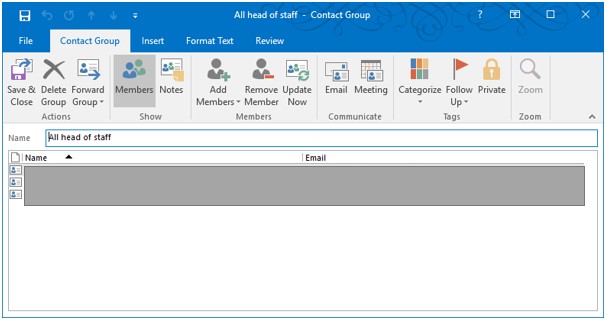
Select the Save and Close tool at the start of this Contact Group ribbon.
![]()
Your group has been saved to the contacts address book.
How to Use the Group contact entry
Now you have a group to use it simply start creating a new email message.
If you place the group name in the ‘To’ line of the message all the recipients will be able to see who else is in the list, rather than the name of the group you have just created. More importantly in light of the recent news story they can reply to everyone on the list.
Send the email to yourself by putting your name in the ‘To’ field and the group in the BCC field .
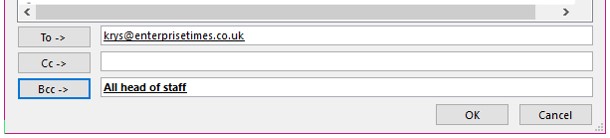
Having placed the group name into the BCC line nobody else can see who else it went to. They can only reply to you not other people. Of course, some people may then start forwarding the email thinking you have missed someone out but this can be overcome by mentioning early in the email that it has been sent to a wider distribution group.
The result is an efficient email system, the company email keeps working and there is no risk of a security breach.


