
 Please read my previous article on how to create an index entry in a Word document. This article is an extension of that one. We will explore how to create and index quickly, create subentries of the main topic, cross-referencing and further setting options.
How to create an entry quickly.
- Select the word or phrase you would like in the index
- Press [ALT+SHIFT+X] – this is the shortcut for Mark entry
- Press the [Enter key]
This word is now part of your index and refers to that page. If you know that a word you wish to have in your index is repeated several times throughout your document, you can quickly create this link in the index. This dialog box will remain open so you can select and mark more entries for your index.
How to create an index for repetitive words quickly.
- Select the word you need.
- Press [ALT+SHIFT+X]
- Select the [Mark All] button
- Press [Enter]
You will see this code in front of every word you have just selected for an index entry. I have chosen the word “the”.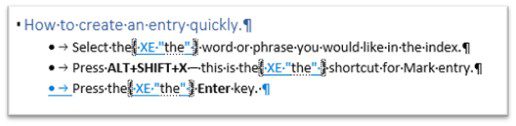
Your index will show this. 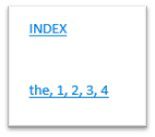
Indicating which pages this word is referencing.
How to create a subentry
This is where we mark an entry for the index but make it a subentry to the main topic. Firstly you need to know which main topic any subentry needs to be part of. Therefore I suggest that you either split your screen or, if you are fortunate to have two screens, use both for this exercise.
How to split your screen
Here is a dummy document with an index.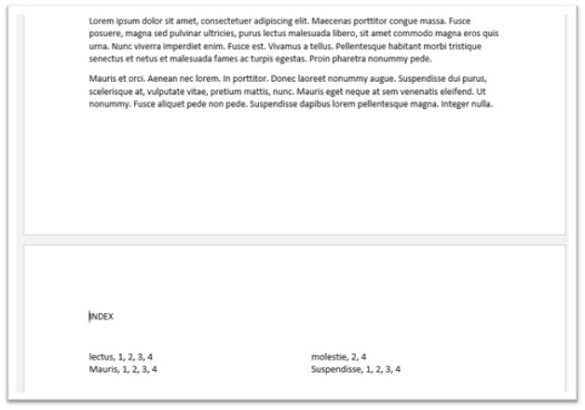
- Place your cursor just in front of the title Index.
- In the [View Tab], locate the [Window group].

- Select [Split].
Your document is now split into two panes on your screen. You can now use the side scroll bar to see the document with the index at the top, and the lower split shows you the whole document as you move through selecting new subentries.
I have purposely shown the Index at the top of my split-screen and the start of the document in the lower split screen where I can increase or decrease the size of the split to suit my needs.
Move your mouse to the split line across the screen and click hold and drag the image of two horizontal lines and an up and down arrow on either side with a tip of [resize] to the position you require.
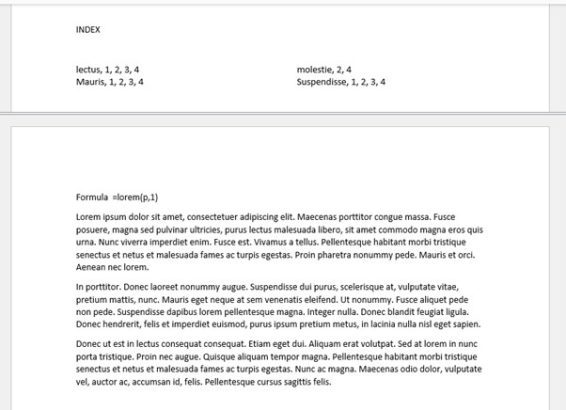
Now that you can see both the index entries and the whole document, you can easily create your subentries.
- Select the word
- Press [ALT+SHIFT+X]
Here I have selected the word egestas which need to be a subentry of lectus.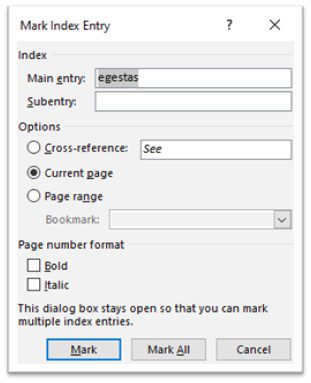
- Cut this word in the Main Entry line of this dialog box. [CTRL+X]
- Type the word Lectus in the Main entry line. Unfortunately, the simple copy and paste will not work well here
- Click in the subentry line and paste the word
- Select the [Mark] button
- Select the [Close] Button
Update your Index by clicking within the index area and pressing the [F9] Key.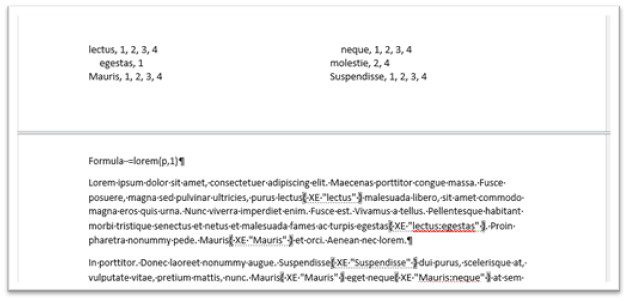
The result will look like the example above.
Use the [Mark All] button if that is needed. If you require a further level to this Main entry, type a semicolon between the subentry words in the dialog box.
Create a cross-reference
A cross-reference is a way of showing the reader that other subjects in this main topic may be of interest. For example, if the reader is searching for the word Sport”, you could show that there are other entries that discuss this main topic, such as “Show Jumping”, “Skiing”, “Golf”.
Using my Latin document, I shall cross-reference the word Quisque with the main entry of Mauris.
- Select the word
- Mark the entry. [ALT+SHIFT+X]
- Cut the main entry new word.
- Overtype the main entry word with [Mauris]
- Select the cross-reference checkbox
- Paste the word to be cross-referenced.
Your updated index should look like this.
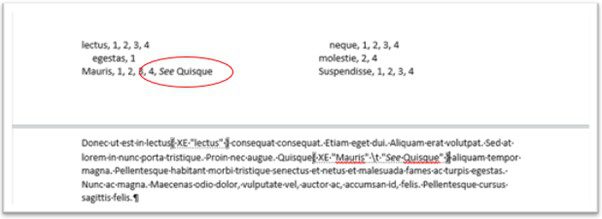
A cross-reference does not hold the page reference. But should refer to another index entry.
Updating an Index
You can add more and more entries in the document. You do not have to update the index until the very end, when you are about to check that you have every item covered.
- Select the index that you have at present and press the [F9]
All changes in the text and additional entries are now shown.
Formatting your index.
There are two places where you can format how your index will look.
- The page numbers are in the mark index entry dialog box. At the bottom of the dialog box you can select either bold, italic or both for the page numbers
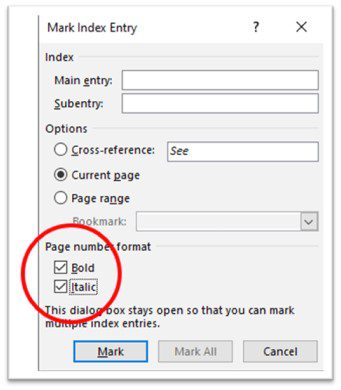
- When creating your index, select from the [Formats] list at the bottom left of the dialog box
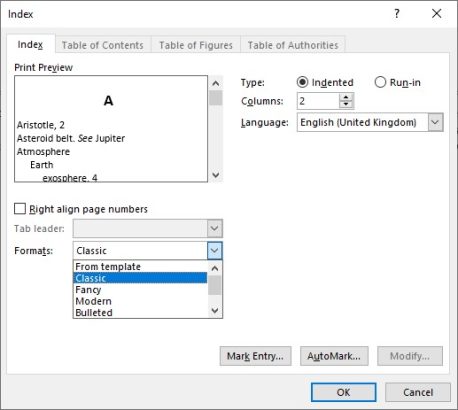
How many columns your index should have is on the right of this dialog box. The choices range from auto to 4. 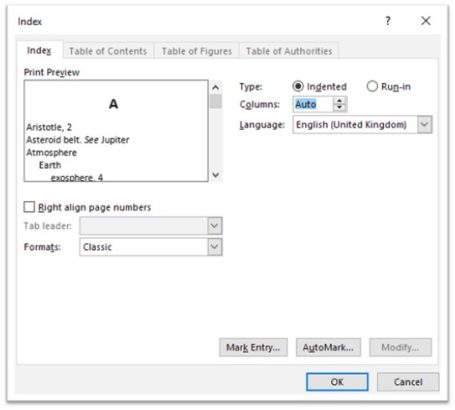
Along with the type, either indented or run-in.
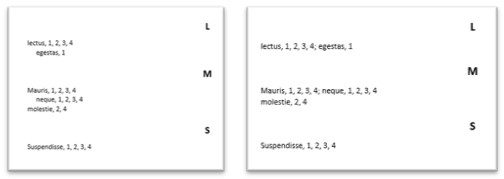
Play with these to find the best look for your document.
A following tip will be on “How to create list of items to be included in an Index”, look out for that one.