
Placing images into your text is a great idea as this breaks up the block of text that sometimes overwhelms the reader. You have already (I hope) read my tip on how to place pictures and use the word wrap tool for images in my last tip. I would like to introduce you to the image that has a white background and how you can mould the text around it. It looks great and not only that it’s fun to do too.
Here is a block of text we shall use for this tip.

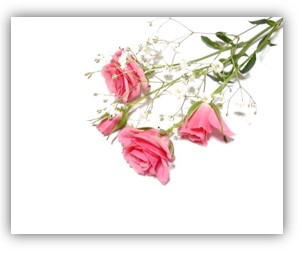
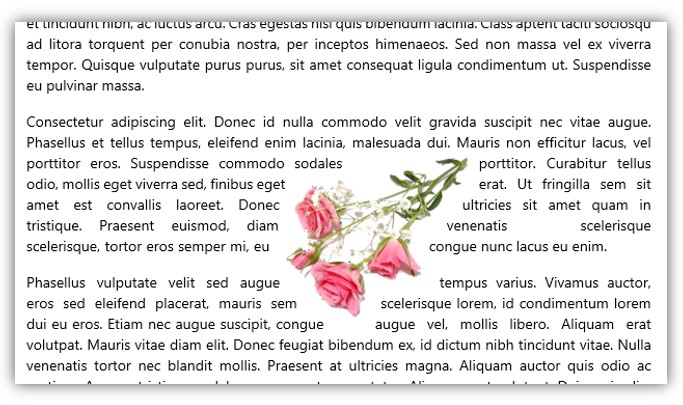
Here is an image with a white background.
Here is what the text looks like when you place the image into the text with ‘tight wrapping’.
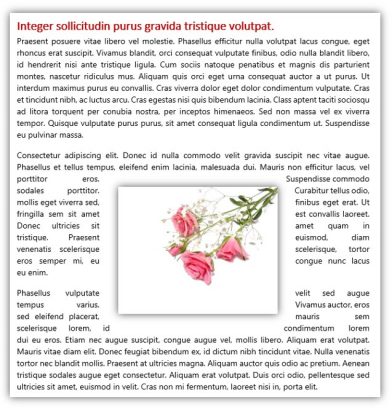
As you can see the text flows around the image and it almost looks good. But it would benefit from some extra editing.
Removing the background
- Select the image.
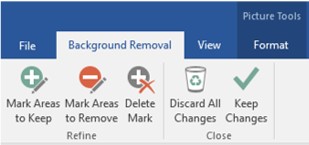
- From the Picture Tools Format Tab select the Remove background tool found at the beginning of the Tab.

Two things happen. Firstly, you have a new ribbon just for this picture background.
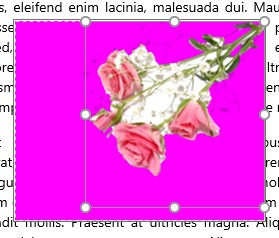
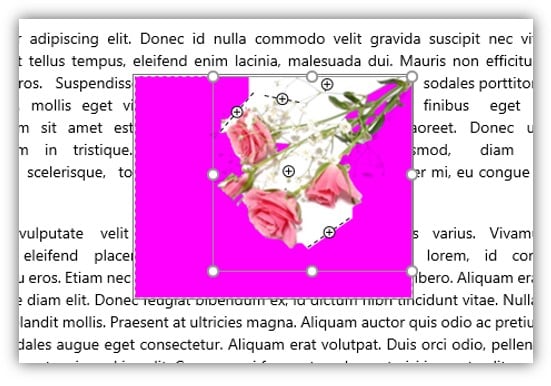
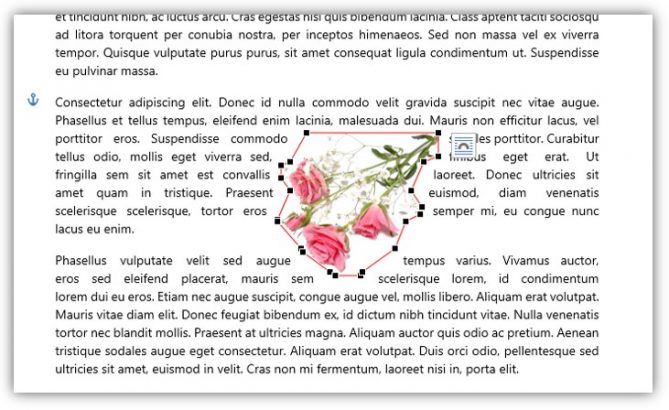
Secondly, the picture is filled with a pink colour to show what will be removed. You need to adjust this so that only the background is removed and not the petals or leaves of the flowers.

Adjusting the removal area.
- Pull the round handles inside the pink area. You are limited to how much you can adjust here. As the gypsophila that comes with this bouquet of roses is so fine that word cannot distinguish it from the white background well. Therefore some light leaves will be removed also.
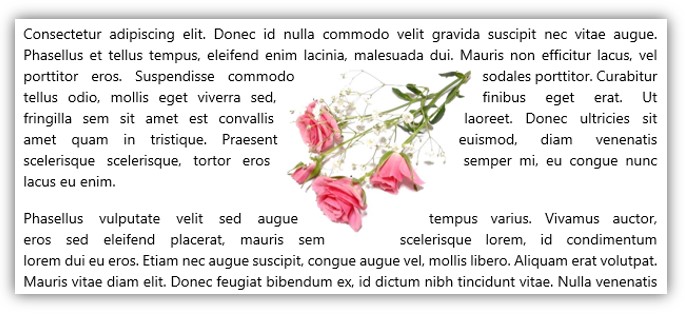
This is the result
- If this is ok then you’re done simply click away from the picture and this the result of removing the background.
If you need finer tuning then select the Mark Areas to Keep tool to select the areas you want to stay in the image.

- You can trace around the part that is going to be removed or click inside a larger area that is surrounded by what is not going to be removed.
The result is this.
Edit Wrap Points
Even more fine tuning using the Edit wrap Points tool
- Select the image.
- Select the Wrap Text Tool from the Picture Tools Format Tab.

- From the list that drops down Select the Edit Wrap Points tool.
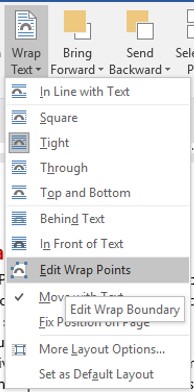
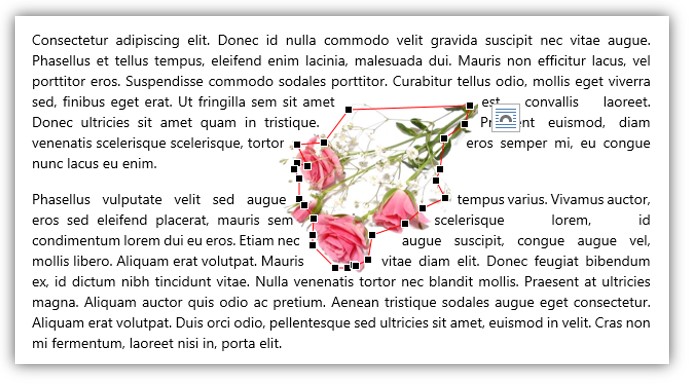
This is the result.
The small black squares on the surrounding red line are the edit points that the text adheres to. You can move these points to allow the text to flow over part of the image.
- You can also create new edit points by clicking along the red line where needed.
- Drag these edit points towards the centre of the image and see what happens.
- When you are happy with the way the text flows around the image click away from the image back onto the text and admire your result.
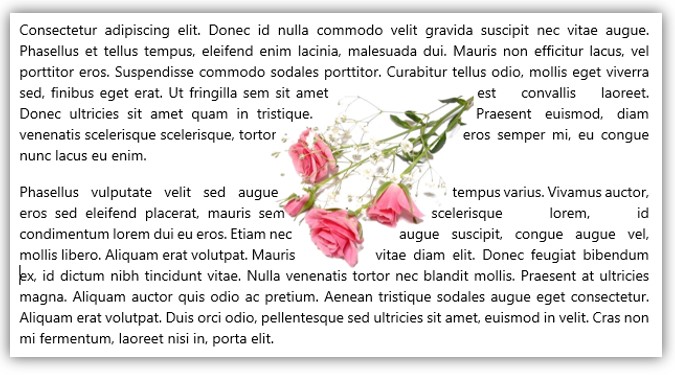
This could be time consuming but I think you would agree that the result is worth the work.


