
When creating newsletters and the like, you may find yourself wanting to layout the text in a more traditional newspaper way. We are creatures of habit. As such we find reading small columns of text to be the correct way to read news. Follow these simple steps to create a beautiful newsletter in Microsoft Word without using more expensive or complicated software and having to learn how to use it.
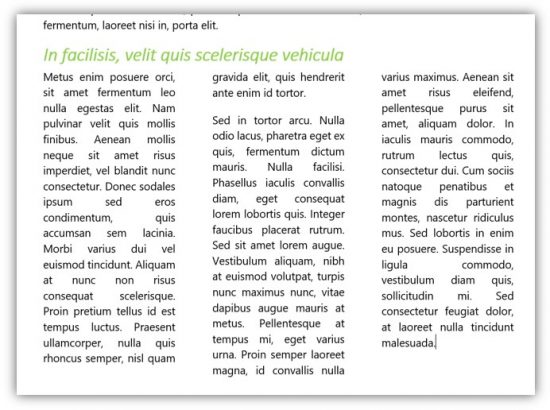
Let’s start off with a few blocks of text. I’m using Latin here.
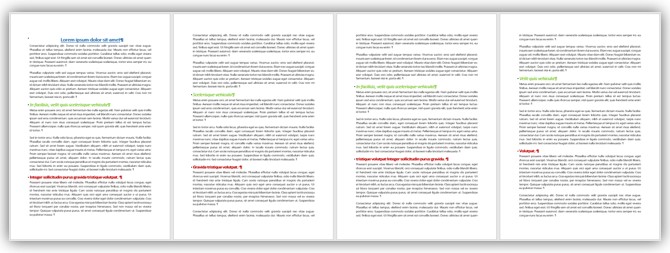
This as a newsletter would be very hard going, as we need breaks in what we read to make it more easily understood. Pictures play a very large role too.
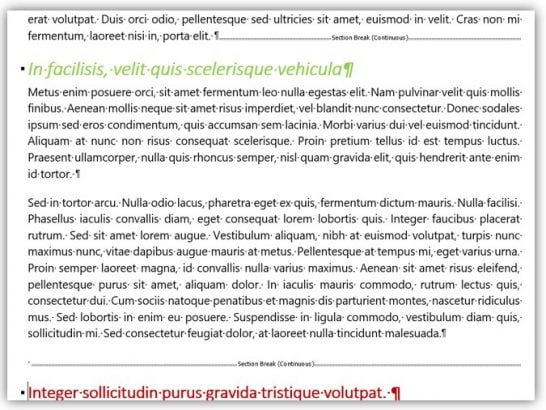
For this demonstration I am going to leave the first two paragraphs as they are depicting an introduction sort of story. The next few will be moved into columns across the page.
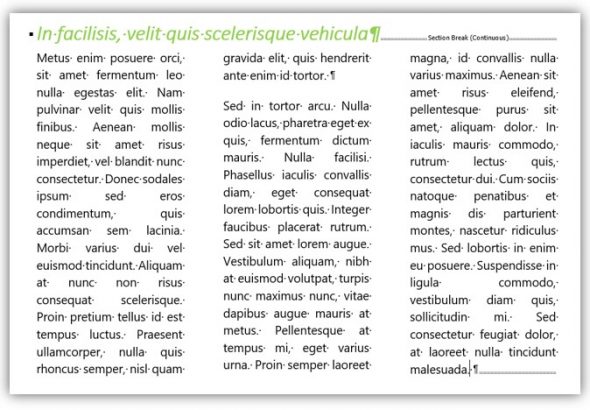
Firstly, we need to place some continuous section breaks in strategic places on our newsletter. Read my tip on Same Page Section Breaks in Word. You place a section break above the paragraphs you are going to change into column and below them too. This encases the piece of text.
How to insert columns
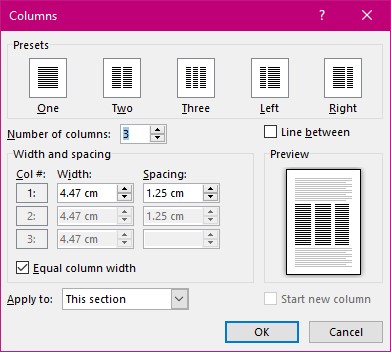
Now you have this encased piece click inside it and select the Columns tool from the Layout Tab.

This will produce a list for you to choose from.
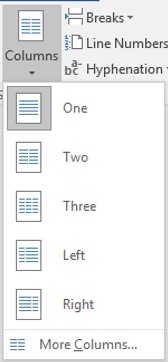
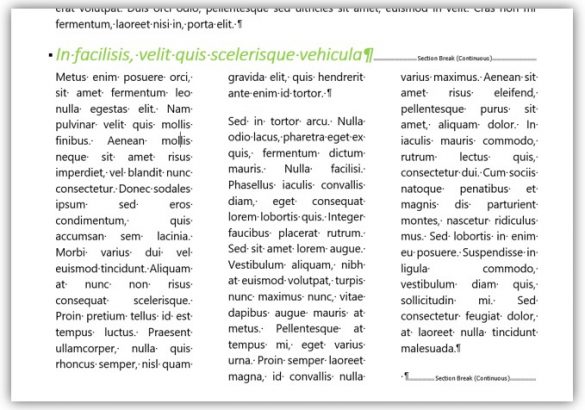
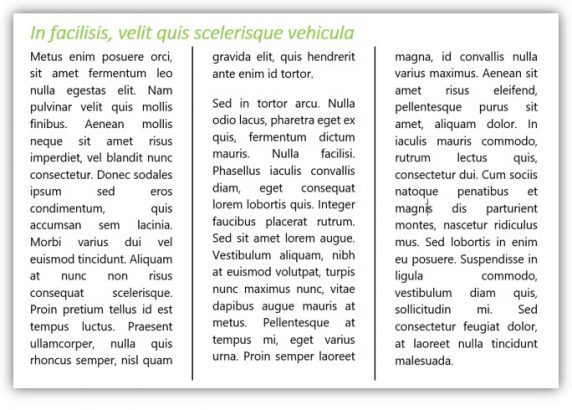
If all you require is two or three columns with defaulted space between, or two columns that are not equal in width, then you can select one from this list. The result will be like this, having selected three columns.

As you can see this does not look great. That is because I placed a continuous section break above the heading of this piece rather than below it. This is what it would look like with that correction.
Without the non-printing marks showing, it looks even better.
Small changes in where the continuous section break is placed can make subtle changes to the final layout. Do you think its better or worse?
In this case it has evened up the bottom of the columns rather than have the centre one a little longer and visually looking like its dropped.
If you require vertical lines to help differentiate the columns, then use the more columns. This is changed within the column tool.
Here you can see that you can change the width of each column and the width of each space between them. You can additionally add that vertical line between columns. This is found just above the preview area.
Please make sure that the Apply to: ‘This section’ is selected not ‘Whole document‘.
My next tip will be on how to place a picture into this newsletter.


