
Have you ever wished you could write a few emails in advance and be sure that they would not get to their destination address until a designated time in the feature? Well you can with the Delay Delivery feature in Outlook 2016.
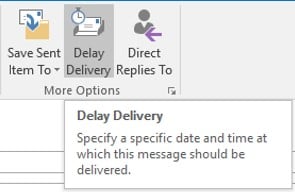
Write your emails in the usual way with all the ‘trimmings’. Then from the Options tab in the email window, select Delay Delivery tool almost at the end of the ribbon.

The result will be this dialog box
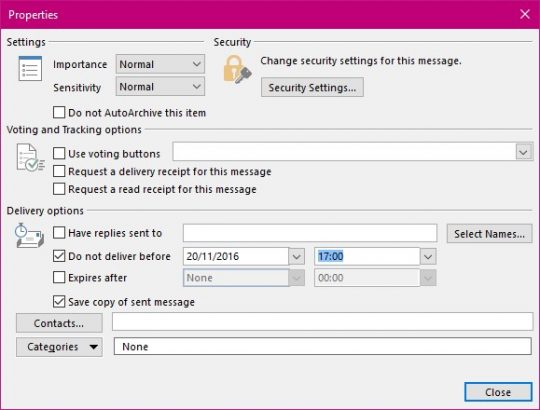
In the third section down, you will find the Delivery options.
Here you can choose the date and time for this email to be delivered. Note that the Save Copy Of Sent Message box is checked by default.
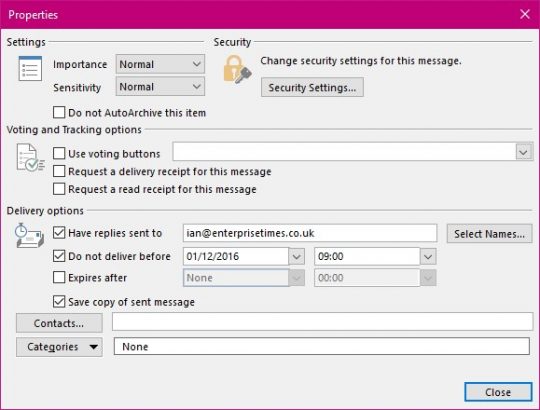
If you are setting up emails for when you are away from the office for any length of time you may wish to direct any replies to this email to a specific person. This is located just above the delivery date you have just set.
How to delay delivery of all messages you are about to create
From the File tab of Outlook itself NOT the message you are writing.
![]()
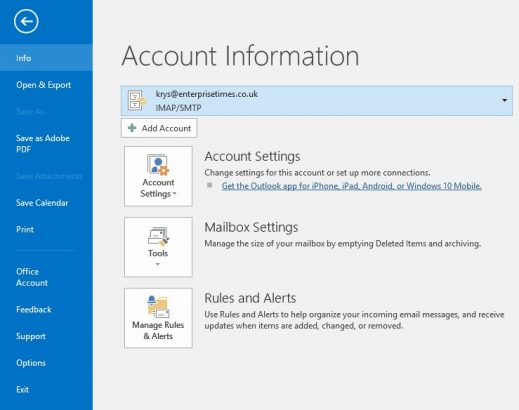
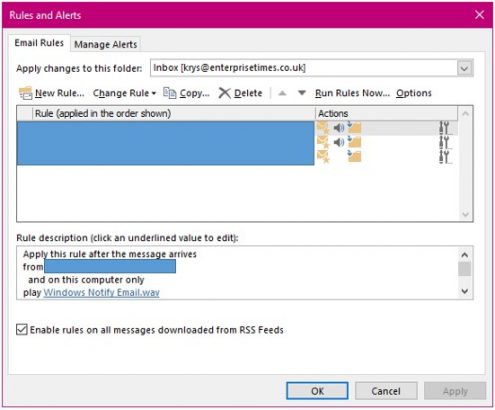
Select Manage Rules and Alerts.

This will result in this dialog box.
Select New rule. ![]()
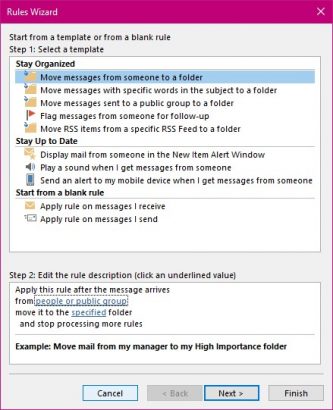
This is Step 1 of a few.
Use the Start from a blank rule. 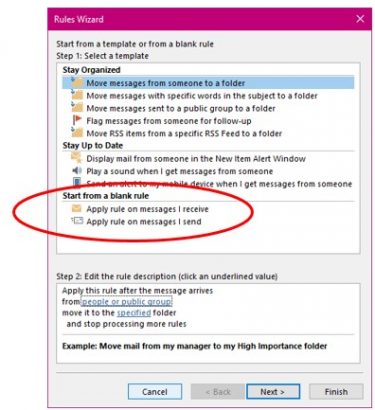
Use the Apply rule on messages I send
Select the Next box
You are still in step 1 here you need to check the boxes for the items you require such as: ‘through the specific account’.
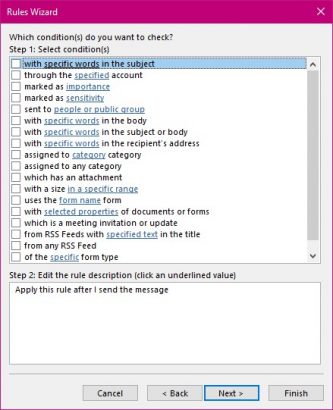
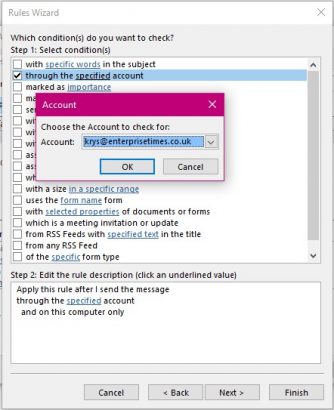
This is very important if you have several email accounts.
Once you have specified which account this rule will be used for select the Next button.
If you do not check any of the boxes in this step a confirmation dialog box will appear.
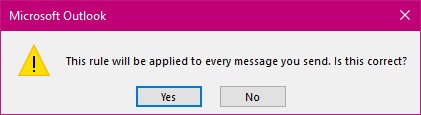
Select Yes and the rule that you are currently creating will be applied to all the messages you are about to write and send.
You are then presented with this dialog box for any exceptions you may require.
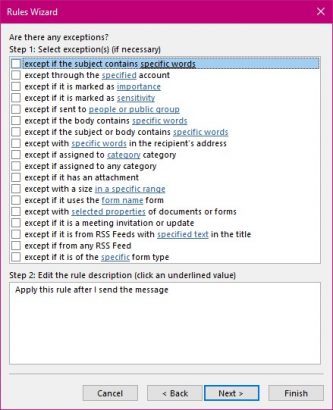
Once again you do not have to check any of these boxes.
Select Next
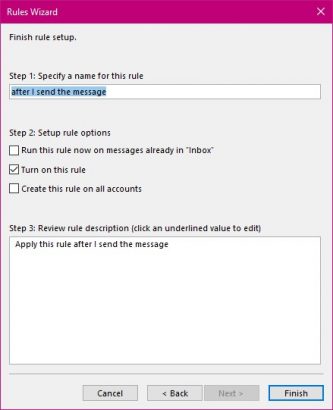
It is a good idea to give this rule an appropriate name so that you will instantly know what it is when you come to use it possibly many months from now.
Select Finish.
Now write your first email and it will sit in your out box until this rule allows it to go!


