Many of you may not know that you can have sections in Word. You can have sections even on the same page which are called continuous sections. These help to design your pages to a more readable state if you have lots going on as some information needs to be set out in a landscape orientation and others a portrait and you really need them to be together on the same page.
N.B. This Tip is written in Office 2016 so images of tools or ribbons may differ from your version. The features still work the same.
Sections for whole pages
We shall start off by creating sections for whole pages. These come into their own when you are creating a large document and you would like to break it up to help with the understanding and enjoyment of your document. Toy can create a section break at any time, as you are writing the piece or after you have finished and are ready to make the whole document look and feel great. Whichever way you work it does not matter, Word likes them both. So what is a Section anyway? Well when you press the Enter or Return key on your keyboard you get what is known as a hard return meaning that the information you were writing in the paragraph has now stopped and has no connection with the next one so the next one can have completely different formatting settings that will not affect the previous one. This is similar to section breaks.
Creating a Next Page Section Break
Make sure your cursor is at the end of the information you wish to show on the page. Select from the Layout Tab Breaks. 
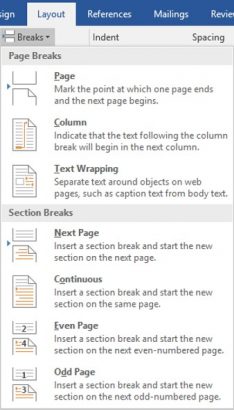
As you can see from the last illustration there are quite a few different breaks. The one we need at this time is the first one in the Section Breaks area.
When you choose this you will not see much different from selecting a Page Break on you r document, you need to go to a different view to see. Select View Tab and then Draft. 
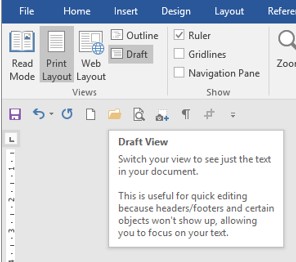
This View allows you to see ONLY the text in your document and all diagrams, illustrations or charts are not visible but more importantly empty white space in the top and bottom of the page you do not have to scroll through. Try it when you want to read your document to see that it all makes sense and see that you took much less time scrolling through items you did not need to view. 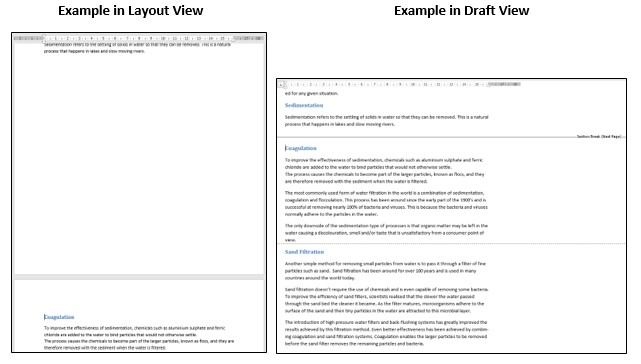
In the Draft View you can notice there are two different types of horizontal doted lines across the whole of the screen. The Double dotted line has the words in the centre of your screen. ![]() This will stay in this position until you change it, whereas the single dotted line has no words and this denotes a natural page break where Word cannot place any more text on the page.
This will stay in this position until you change it, whereas the single dotted line has no words and this denotes a natural page break where Word cannot place any more text on the page. ![]()
this will move its location should you increase or decrease the amount of text you have on the page.
Let’s look at this in another view. Back to Print Layout View but set the zoom to a smaller size so that two or three pages are viewed at one time.
Example of Print Layout 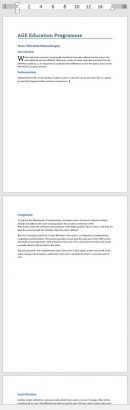
Example of Print Preview 
Please use whichever view you prefer.
Now come the interesting bit. You can have each page in a different orientation because you have section breaks!
I have a Next Page section break just before each page there are no natural page breaks and I am in Draft View.
Click in the second section then select the Layout Tab and Orientation tool. 
Select Landscape setting.
You can tell that the second page is different to the others because the text flows further over to the right. 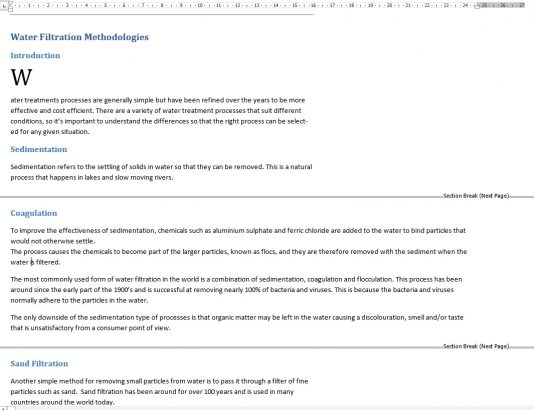
Now return to Print Preview and you can see the result there. 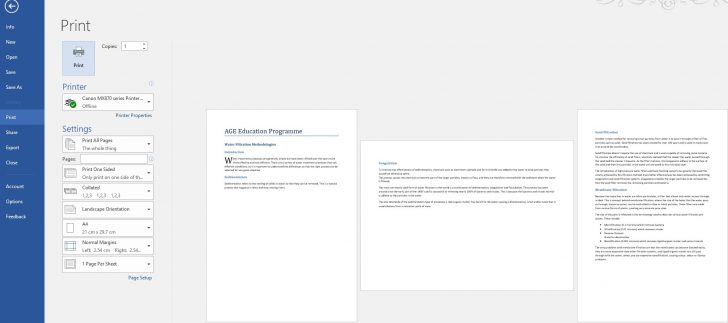 Here I only have text but if you have diagrams or charts they probably look a lot better in landscape than portrait.
Having created Section breaks has now opened the document up to a whole host of different formatting ability in each section, from background page colour to headers and footers. Also page orientation to which tray e3ach section will be printed off from as you may require special paper to be used for each section.
Next week I’ll show you Same Page Section Breaks.


